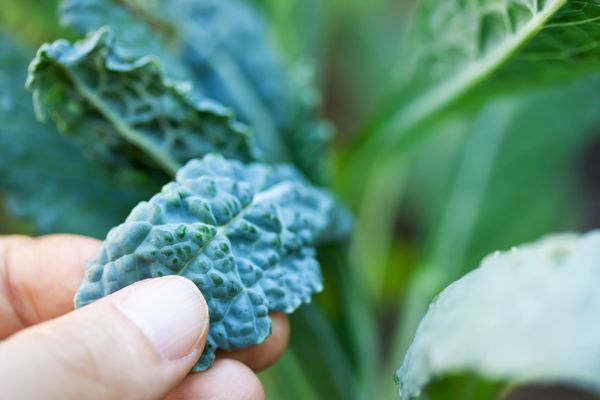
Over the last few years, kale has gained a massive fan base. It has risen the ranks from relative anonymity to green veggie superstar. What makes kale such a standout vegetable and a perfect choice for your garden? First of all, it tastes delicious and adapts to all sorts of recipes (omelets, smoothies, salads, stir fries, quesadillas, basically anything you can dream up!). But more importantly, it serves up incredible nutritional value. One cup of chopped kale = one enormous helping of antioxidant vitamins. In other words, 684% daily value of Vitamin K, 206% of Vitamin A and 134% Vitamin C. That’s a major win for your immune system and general well being. Upping your intake of kale can mean cancer prevention and lower cholesterol.

Lucky for your, you’re just in time to plant some kale in your own garden. Spring kale should be planted 2-5 weeks before the last frost date. You can also plant for a fall and winter harvest by putting down seeds 6-8 weeks before the first frost in fall. But as we approach springtime, Humble Gardener is focusing on planting your kale as soon as possible– for a summer harvest! Here’s how to ensure you’ll have a fresh kale harvest all season long:
1. Pick a spot.A location with full sun is best, but partial shade will also work fine. If you’ve got other veggies and fruit growing in the garden, consider growing your kale next to onions, celery, beets, herbs or potatoes. Kale is not a good neighbor for strawberries, tomatoes, or beans, however!
Well drained & fertile soil is the key to growing healthy kale. Ideal soil pH should be between 6.0 and 6.8. It’s best to add compost and fertilizer to the garden bed before planting your seedlings.
Kale needs to start in soil with a minimum temperature of 40 degrees Fahrenheit, so be absolutely sure you’ve hit that marker before planting!
2. Get your seedlings in the ground!Space seedlings 12-15 inches away from each other in rows 18-24 inches apart. Place in the plants in the soil at about the same depth that they’re growing in the container you’re taking them from. Mulch the garden bed with compost, straw, pine needles or finely ground bark to keep the ground cool, moist and weed-free.
3. Give your kale TLC.That means regular watering! Kale thrives in moist soil. Make sure the plants are receiving about 1.5 inches of water each week. You can also help your plants along by fertilizing along the rows during the growing season, about every 6-8 weeks.
4. Harvest and enjoy!Kale is ready to be harvested about 70-95 days from seed and 55-75 days from transplanting, depending on the variety. Once the plant is 8-10 inches high, you can start to cut off leaves, beginning with the lowest and outer-most ones. You can pick your way up the plant as long as you leave each stalk with at least four leaves at the top. The leaves will last several days in the fridge in a plastic bag!
SKM: below-content placeholderWhizzco for CRH

